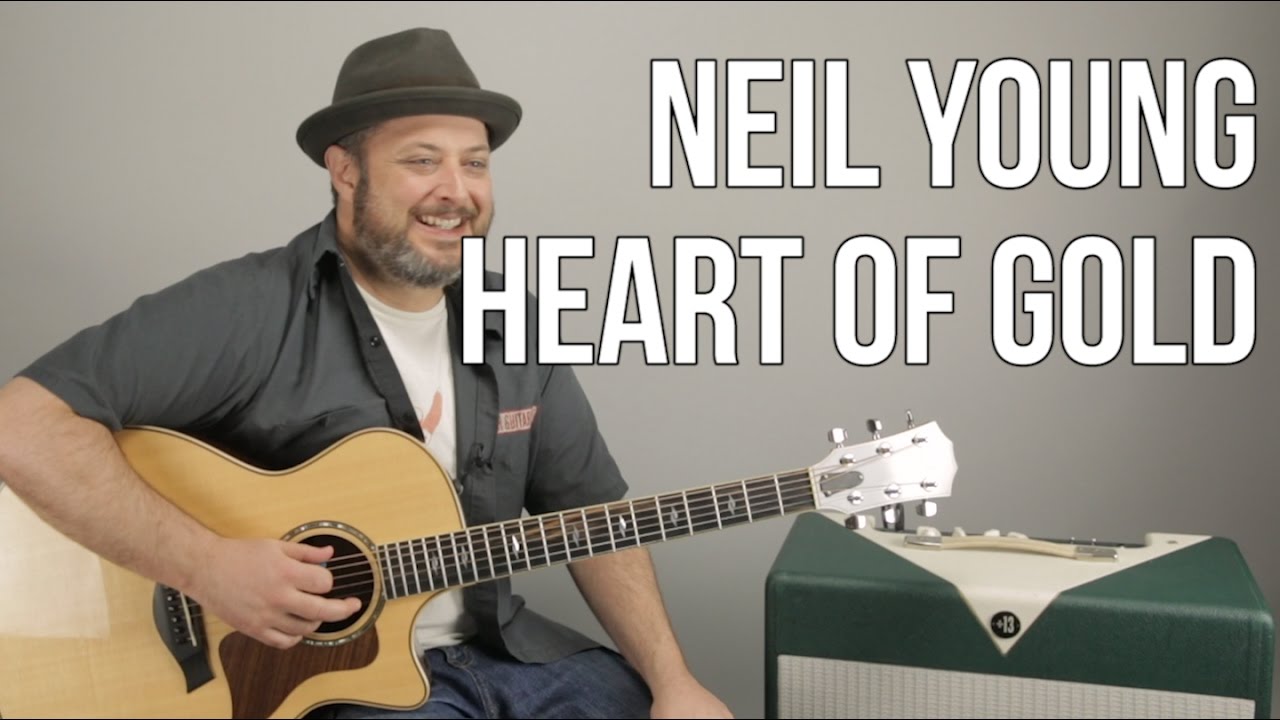
Neil Young wrote “Harvest Moon” in 1992 after severe tinnitus forced him off the electric stage and back to acoustic guitar — and that quiet retreat produced one of the most beloved fingerpicking songs of the decade. The whole thing runs in Drop D tuning with a handful of open-voiced chords and a signature riff that sounds more complex than it actually is. In this lesson, Marty Schwartz breaks down the Drop D setup, the main intro riff, every chord in the song, and the natural harmonic passage Young uses as a signature texture.
Drop D Tuning — Do This First
Before a single chord gets played, the low E string needs to come down to D. That’s it — just the one string. Tune it down until it matches the open D string two strings over.
Drop D does two things for this song. It gives the low string a deep, droning resonance that sits under everything. And it changes the fingering for a few chords — so even if you know standard-tuning shapes well, it’s worth paying attention to where Marty places his fingers here.
The Signature Intro Riff (Dmaj9 / Dmaj7)
This is the part everyone recognizes the moment they hear it. Marty builds it from two shapes on the middle strings, with open strings ringing throughout.
Start by placing the middle finger on the 11th fret of the G string and the index finger on the 10th fret of the B string. Strum all the strings — the low D drones open underneath and you get a Dmaj9 voicing. That’s the foundation of the whole riff.
The strum pattern for this shape is the heartbeat of the song: down-up-down-down-up-down-down-up-down. It’s deliberately uneven, and that slight asymmetry is what gives “Harvest Moon” its swaying, unhurried feel. Marty counts it out clearly in the video — slow it down and lock that pattern in before anything else.
Then add the ring finger to the 12th fret of the B string while keeping everything else in place. The open high E rings out alongside it. From there, Marty moves through a short melodic figure on the high strings — 9th fret high E, 10th fret B, 11th fret G — which he identifies as a Dmaj7 extension. It’s still rooted on D, just a slightly different color.
The up-strums in the pattern are what hit this Dmaj7 shape. So the riff has a gentle push-pull: the Dmaj9 on the downstrokes, the Dmaj7 on the ups. Once that clicks, the intro starts to feel like one flowing motion instead of two separate shapes.
The Chords
Because of Drop D, some familiar chord names get fingered in unfamiliar spots. Here’s what Marty covers.
Em7 — second fret of the low D string and second fret of the A string. That’s it. Two fingers, both at the second fret on the two lowest strings, everything else open.
D major — index finger across the second fret of the G, B, and high E strings (a small barre). Marty also shows a version with the ring or pinky on the 4th fret of the D string to fill out the low end.
G major — take that Em7 shape and slide it up to the 5th fret. Ring finger and pinky on the 5th fret of the low D and A strings. The open strings ring with it and it reads as G major. Marty also shows a fuller version with the 3rd fret high E, but the simpler two-finger version at the 5th fret works fine — and the open high E blending in still sounds good.
A7sus4 and A7 — think of a basic A7 chord shape, then place the B string on the 3rd fret instead of the 2nd to get A7sus4. Marty mutes the low E string with his thumb resting against it, which means he can strum the whole guitar without the low string muddying the sound. The chord resolves from the sus4 to the A7 by lifting that finger back to the 2nd fret of the B string.
The Natural Harmonics
Young uses a chiming harmonic passage as a signature texture throughout the song, and Marty shows exactly how to get it. Touch the high E, B, G, and D strings lightly — just resting the finger right above the 12th fret wire, not pressing down — and pluck. The string vibrates on both sides of the touch point and produces a bell-like tone.
After those four strings, touch the A string right above the 7th fret and pluck that one too. The technique is the same: no pressure, just a light touch directly above the fret. Let the string ring underneath your finger without pushing it to the fretboard.
It takes a little patience to get both fret positions sounding clean. The 12th-fret harmonics are the easier ones — the 7th fret is a bit trickier to land cleanly. Go slowly and listen for the bell tone to confirm you’ve got the placement right.
Putting It Together
The song moves through the signature riff, then into Em7, D major, G major, and back — with the A7sus4 to A7 movement showing up in the progression as well. Marty walks through the full sequence in the video, but the main skill to build first is that intro riff with the strum pattern locked in.
Once the strum pattern feels natural on the Dmaj9 shape, the rest of the chord changes fall into place fairly quickly. The Drop D shapes are all low on the neck or sitting on open strings, which means there’s not a lot of difficult hand positioning once the tuning is set.
“Harvest Moon” is one of those songs that rewards slower practice. The feel matters as much as the notes — that swaying strum pattern has to breathe. Play it at a tempo where the pattern stays relaxed, and the song starts to sound like the record sooner than you’d expect.