Paul McCartney wrote “Can’t Buy Me Love” during a 19-date Paris residency in January 1964 — and the whole thing was recorded in about 45 minutes, four takes, done. That speed makes sense once you see the bones of the song: it’s a straight 12-bar blues in C, the same structure The Beatles had been playing in Hamburg clubs for years. In this lesson, Marty Schwartz breaks down the intro, the verse chords, the chorus movement, and the minor pentatonic solo that George Harrison laid down on his 21st birthday.
The Intro: Em – Am – Dm – G13
Marty starts with the intro, which sets up the title hook. The movement is E minor to A minor, repeated twice, then down to D minor and into a G13. You can play open versions of all of these, and that works fine. But Marty reaches for a D minor barre chord and a G13 voicing to get a jazzier, fuller sound.
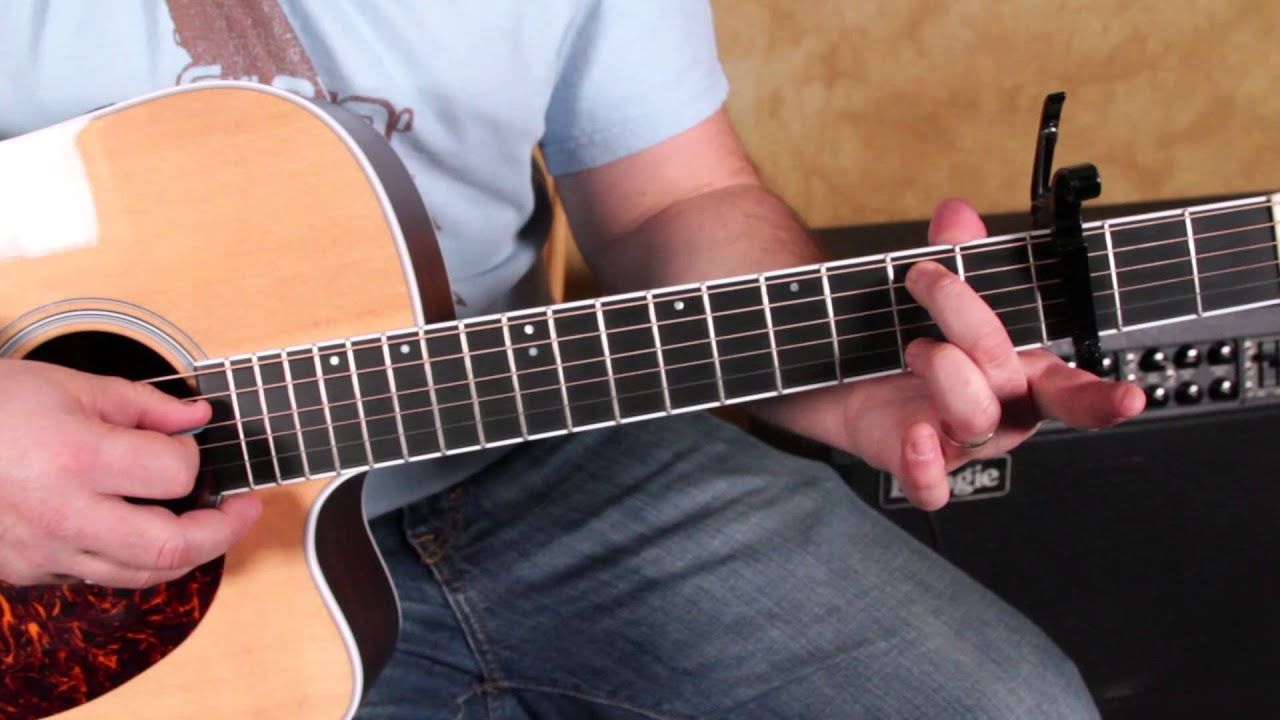
The G13 is the chord worth slowing down on. Here’s how Marty fingers it:
- Index finger: 3rd fret, low E string (root)
- Middle finger: 3rd fret, D string
- Ring finger: 4th fret, G string
- Pinky: 5th fret, B string
- High E string: muted
Without that bass note on the low E, the chord loses its foundation. If you’re playing solo, make sure that root is in there.
So the full intro sequence runs: Em – Am – Em – Am – Em – G13. Then straight into the verse.
The Verse: Dominant 7th Chords and 12-Bar Blues
Here’s the thing about this song that a lot of players miss. The C7 – F7 – G7 chord pattern isn’t just a stylistic flourish — it’s the actual structure of a 12-bar blues. The Beatles weren’t dressing the song up with jazz chords; they were writing a blues tune from the start. That’s why those dominant 7ths feel so natural and right. They’re baked in.
Marty teaches the C7 as an open chord with the pinky added to the 3rd fret of the G string. That one extra finger gives it the bluesy dominant quality — the flat 7th that defines the sound of this song.
From C7, the F7 is the same voicing moved up the neck as a barre chord. Marty places his third finger at the 8th fret of the A string and builds the shape from there. No need to memorize a completely new shape — just move what you already have.
The verse pattern runs like this: C7 four times, then F7 for two bars, back to C7, then G7 into a hit on F7, which resolves to C. Marty plays the G7 as a standard G major barre chord with the pinky lifted — that’s the only difference between G major and G7 in that barre voicing. It’s a small move with a big sound.
The Chorus: Back to That Intro Feel
The chorus uses the same opening movement, but with a twist. It goes Em – Am, just like the intro, but then it lands on C major and stays there for a few beats before resolving. The full chorus sequence Marty walks through is: Em – Am – C (held) – Em – Am – Dm – G13. The G13 sends it back around each time.
That C major landing in the middle of the chorus is what gives it the “pop” contrast against all those bluesy dominant 7th chords in the verse. It’s a bright moment in an otherwise gritty chord palette.
The Solo: C Minor Pentatonic
George Harrison recorded the lead guitar solo at Abbey Road on February 25, 1964 — his 21st birthday. He had just received a brand-new Rickenbacker 360/12 prototype a couple weeks earlier, and that session was the first time he ever recorded with it. The jangly 12-string Beatle sound that defined the next few years started right there, on that birthday, on this track.
The solo itself leans hard on C minor pentatonic. Marty points to bending on the 10th fret of the G string as the center of gravity. In a song that’s technically in C major, using the minor pentatonic is a classic blues move — you’re borrowing the flat 3rd and flat 7th, and the result is that raw, slightly rough-edged sound you hear on the record. It shouldn’t work as well as it does, and yet it absolutely does.
Marty doesn’t teach the solo note-for-note here, but he’s clear that you don’t need the exact notes. The C minor pentatonic gets you through the whole thing. He tracks the chord changes loosely — Harrison outlines the F7 a bit, comes back to C, hits the G7 and F7 — but it all flows from that one scale position. Learn where it sits on the neck and you can follow the changes by feel.
Putting It All Together
The full song structure isn’t complicated once you hear all the pieces together. The intro sets the mood, the verse runs the 12-bar blues, the chorus lifts with that Em – Am – C movement, and the solo cuts through with minor pentatonic blues. It’s a three-minute masterclass in how a simple structure can sound like anything but simple.
Marty mentions that if you want reference diagrams for the chord shapes in this lesson, his free chord and scale book covers the foundations. It’s linked below the video. Well worth grabbing before you sit down to work through the changes.
This is a genuinely fun song to play — loose, bluesy, and forgiving enough that a little imprecision only adds character. Which, come to think of it, is pretty much the whole point of a 12-bar blues.